Form Builder & Document Generation
Form Builder lets you create custom digital forms to collect data from investors and internal users, then automatically generate populated documents such as NDAs, Term Sheets, and Subscription Agreements. You can link forms to steps in a Transaction Management workflow or assign them directly to individual users.
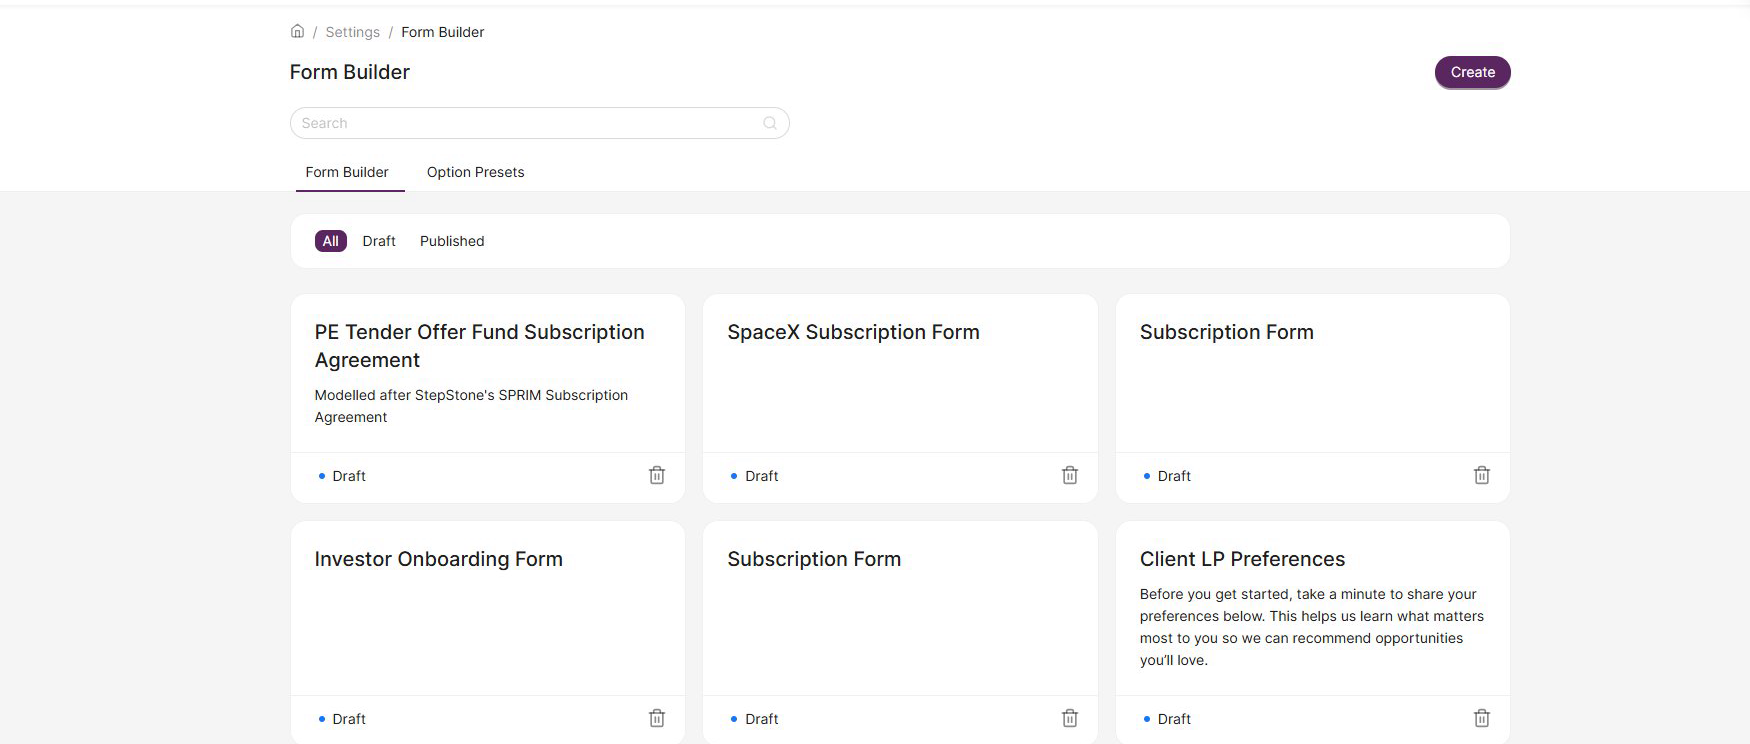
Create a form
- Click the Form Builder icon (notepad with pencil) in the left sidebar.

Forms are organised by status — you can filter by All, Draft, or Published. To create a new form, click Create in the top-right corner. Give the form a name and an optional description, then click Create to open the form editor.
- To edit an existing form, click on it from the list.
Building your form
The Form Builder editor has three panels: Elements on the left, the form canvas in the centre, and Form Settings on the right. You can preview the form at any time by clicking Preview.
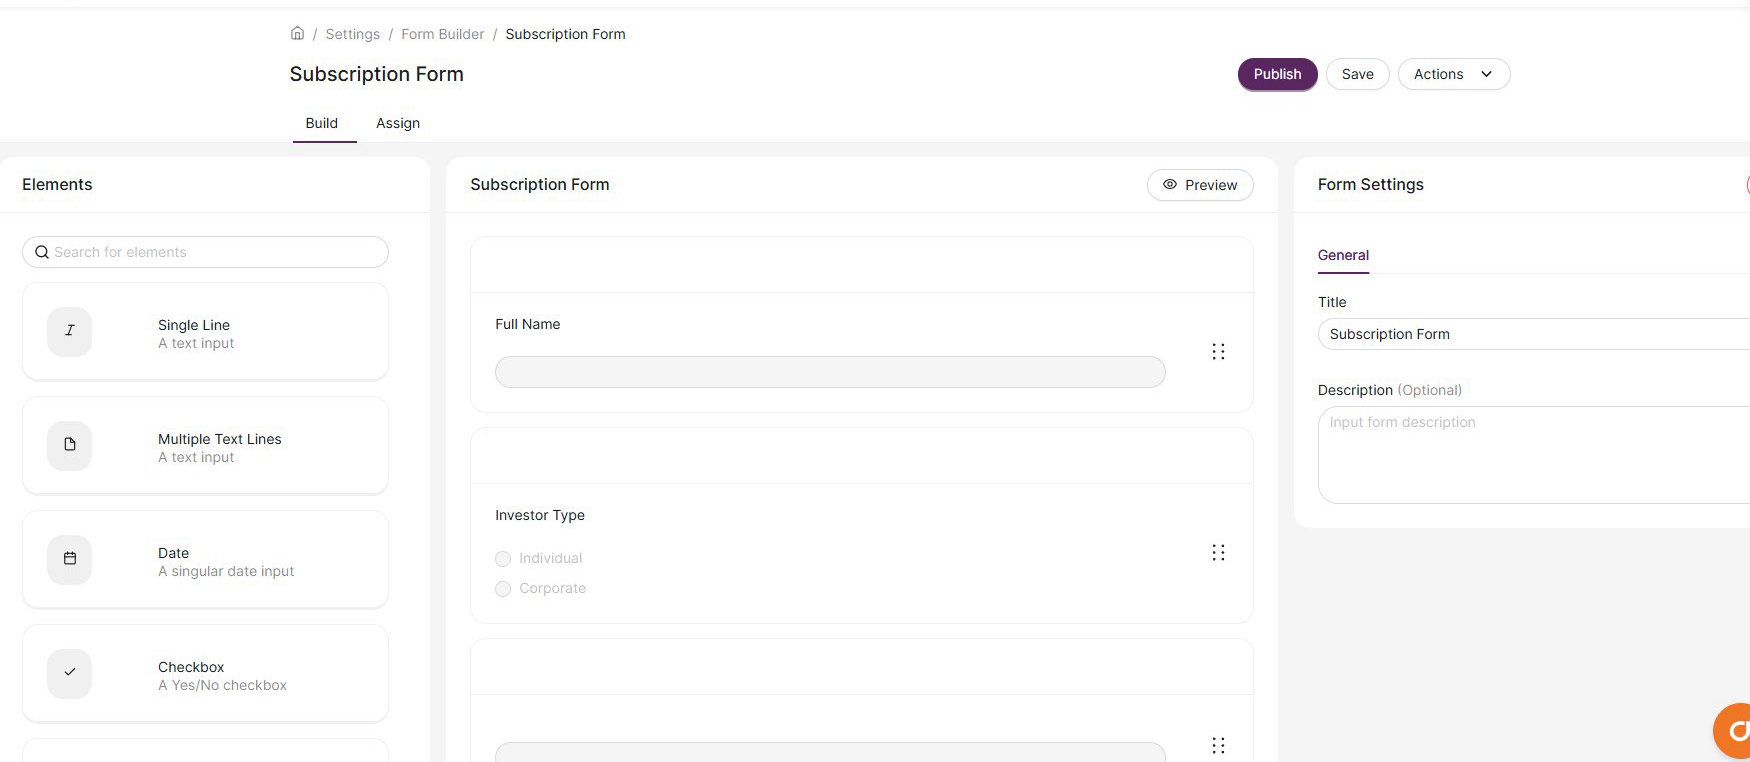
Adding elements
Click an element from the left panel to add it to your form. Once added, you can drag and drop elements to reorder them. The following element types are available:
| Element | Description |
|---|---|
| Single Line | Short text input |
| Multiple Text Lines | Long-form text area |
| Date | Singular date picker |
| Number | Numeric input |
| Currency | Currency code and amount |
| Checkbox | Yes / No toggle |
| Option | Single-select radio buttons |
| Multiple Option | Multi-select checkboxes |
| Dropdown | Single-select dropdown |
| Multiple Dropdown | Multi-select dropdown |
| File Upload | Single file upload |
| Signature | Draw or auto-generate a signature |
| Notary | Date, time, and name stamp |
| Scroll Box | Container for scrollable content (e.g. terms and conditions) |
Configuring fields
Click any element on the form canvas to open its settings in the right panel. Settings are organised across three tabs:
General
Set the field label, mark it as Required, add a Placeholder, and optionally include an information alert prompt that will be shown to the user when completing the form. You can also change the field type from this tab.
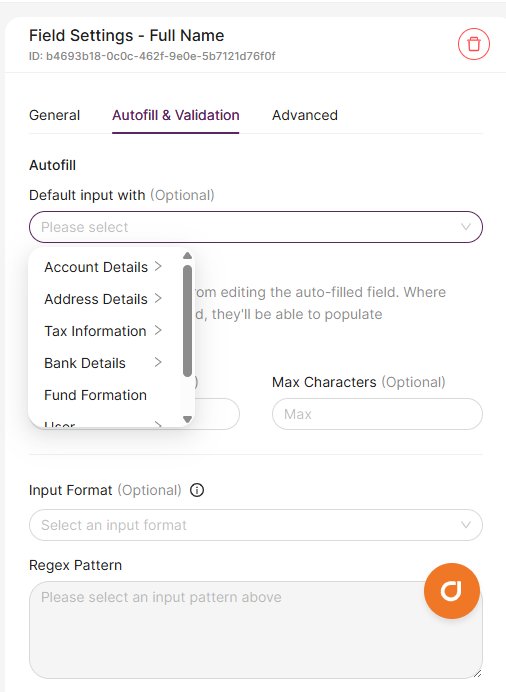
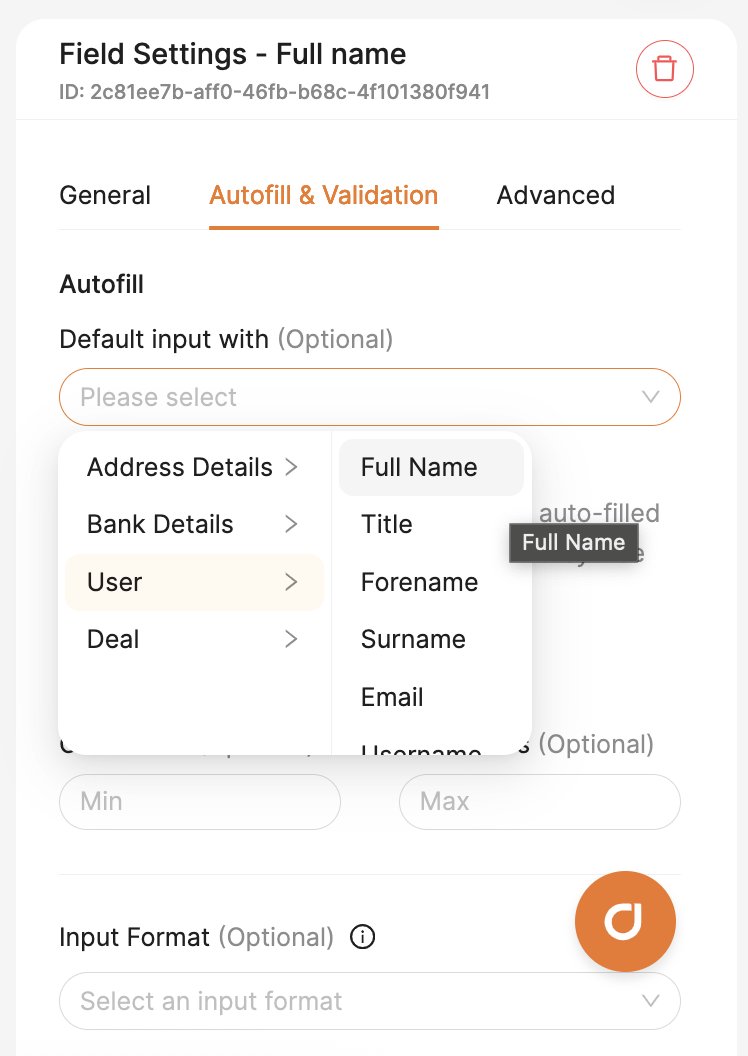
Autofill & Validation
Map the field to existing platform data so it pre-populates for users. Autofill sources are grouped into categories such as User (Full Name, Email, Forename, Surname), Address Details, Bank Details, Tax Information, Deal, and more.
When autofill is enabled, two additional options appear:
- Backfill — when enabled, any changes the user makes to this field will automatically update their stored data on the platform.
- Lock — prevents users from editing the autofilled value. If no data exists to autofill, the field remains editable.
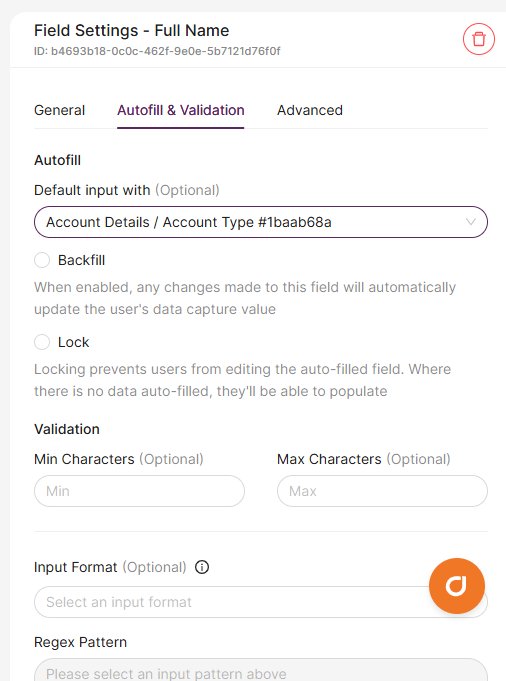
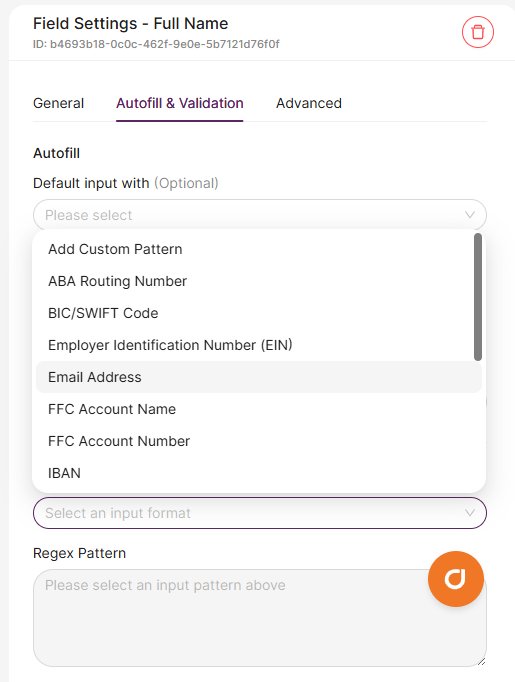
You can also set validation rules including minimum and maximum character counts, and input format patterns such as Email Address, IBAN, BIC/SWIFT Code, Tax ID, NIN, SSN, and more. You can add a custom regex pattern if needed.
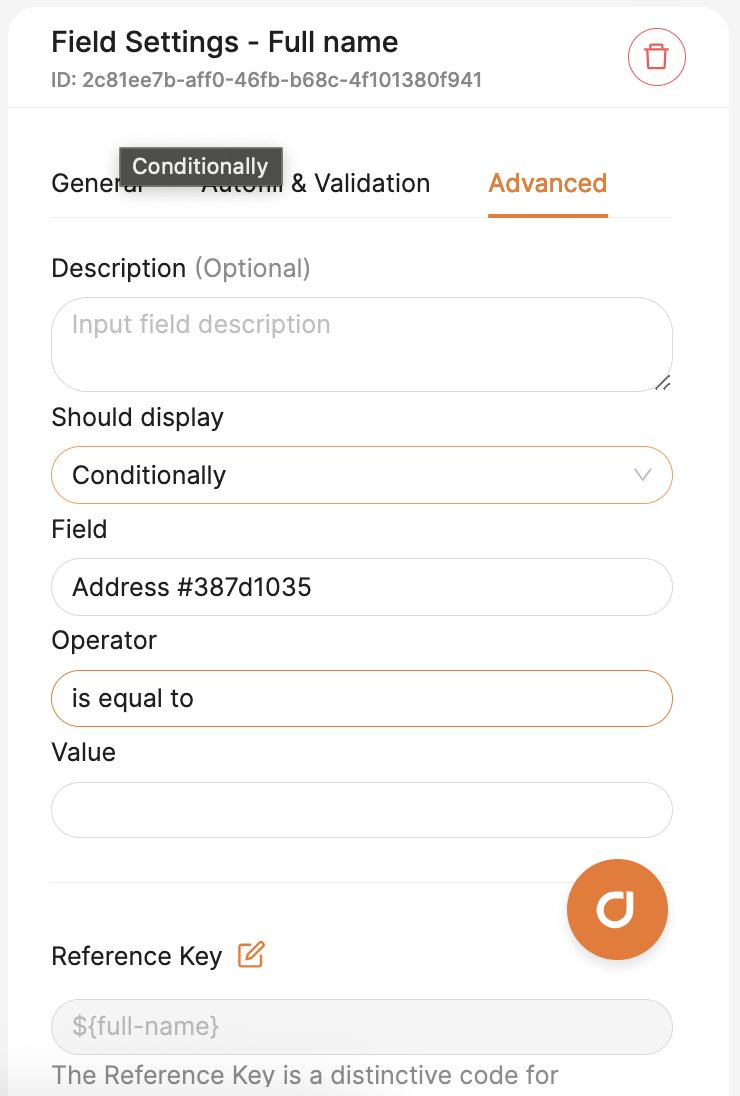
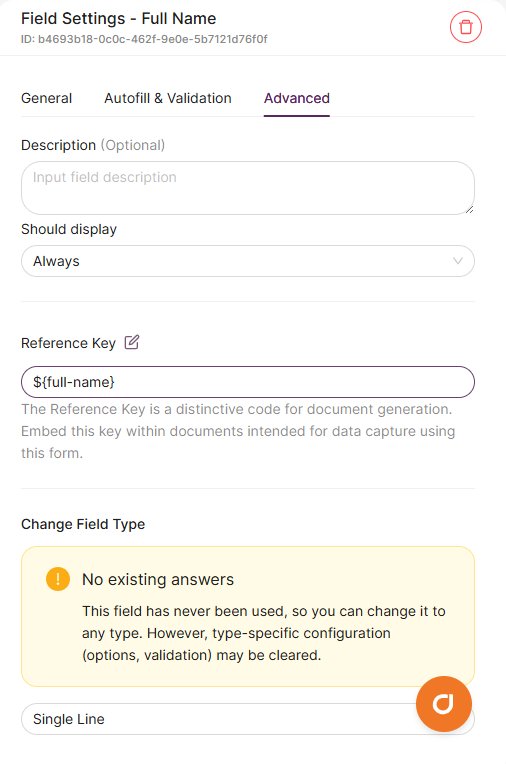
Advanced
Add a field description, control whether the field displays Always or Conditionally, and view or edit the field's Reference Key for document generation.
When you set a field to display Conditionally, additional options appear: select the Field that the condition depends on, choose an Operator (e.g. "is equal to"), and specify the Value that triggers the field to display.

Actions menu
The Actions button in the top-right of the form editor provides two useful tools:
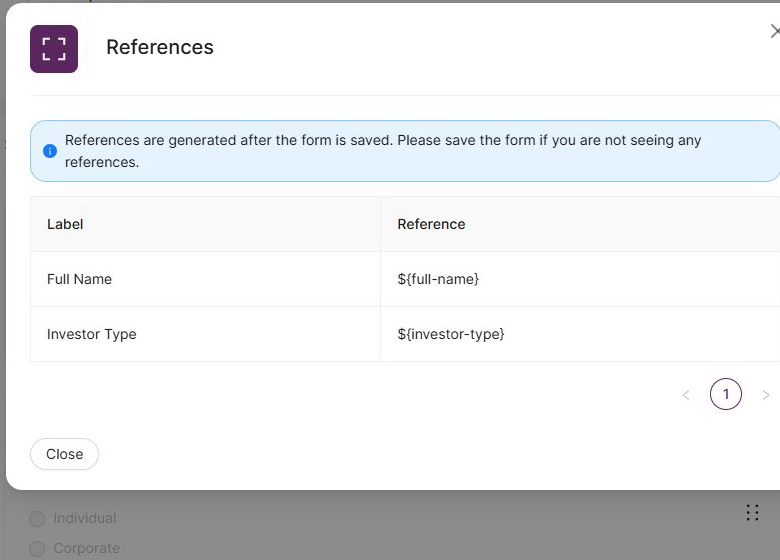
References
View a complete list of all field reference keys for the form. These keys are used to map form data into document templates (see Generate documents from form data below). Make sure you save the form first — references are only generated after saving.
Export
Export the form as a portable string from the Actions menu. This captures the last saved state of the form and can be used to recreate the form structure in a different account or environment.
Preview and publishing
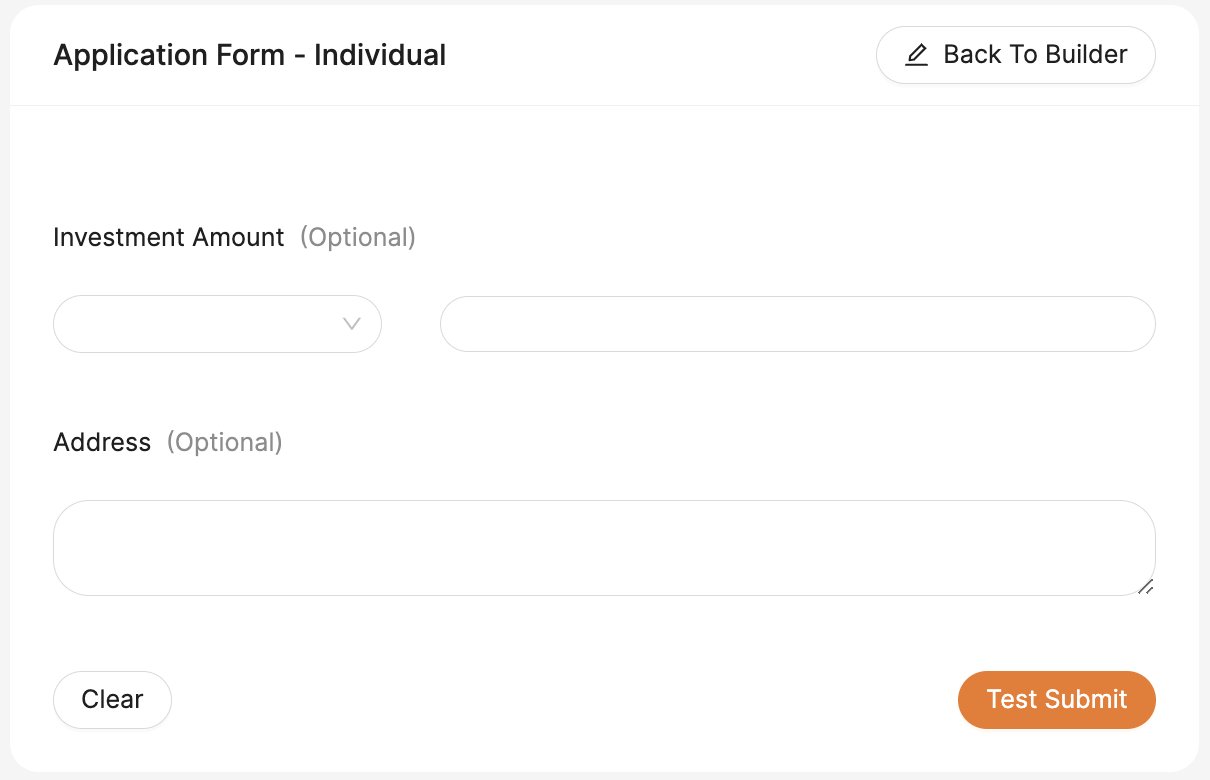
Click Preview at any time to see the client-facing view of your form, including how signature fields, scroll boxes, and other interactive elements behave. In preview mode you can fill in the form and click Test Submit to verify everything works as expected.
When you're satisfied with the form, click Publish in the top-right to make it available for use in workflows and assignments.
Generate documents from form data
Form Builder can automatically populate your document templates with data collected through forms. This works with any templated document — NDAs, Term Sheets, Subscription Agreements, and more.
How it works
- Create your template as a Word document (.docx) using your usual formatting — no special layout changes are needed.
- Copy reference keys from the Form Builder into your template. Each form field automatically generates a reference key. For example, a field called "Full Name" produces the key
${full-name}. You'll find the reference key in the Advanced tab of each field's settings.
- Place the keys in your .docx template wherever you want the form data to appear.
- Upload the template when prompted during workflow setup or via the Assign tab (see below).
Use conditional logic in document templates
You can show or hide sections of your document template based on form responses using conditional blocks. This is useful when your document needs to adapt — for example, displaying different clauses depending on whether a checkbox was ticked or which option was selected from a dropdown.
Basic syntax
Wrap content in a conditional block using {{#if}} and {{#fi}} tags:
{{#if variable == "value"}} This content only appears when the condition is true. {{#fi}}If the condition is false, the entire block — including all content between the tags — is removed from the generated document.
Comparison operators
Use these operators to compare form field values:
| Operator | Meaning | Example |
|---|---|---|
== | Equals | {{#if textvalue == "Example"}} |
!= | Not equals | {{#if checkboxvalue != "Yes"}} |
> | Greater than | {{#if numericvalue > 123}} |
< | Less than | {{#if numericvalue < 100}} |
>= | Greater than or equal | {{#if numericvalue >= 200}} |
<= | Less than or equal | {{#if numericvalue <= 50}} |
[] | Array contains | {{#if tags [] "important"}} |
>, <, >=, <=), both values must be numbers — do not wrap them in quotes.Combining conditions with AND / OR
Use && (AND) to require all conditions to be true, or || (OR) to require at least one:
{{#if numericvalue > 100 && checkboxvalue == "Yes"}} This appears when both conditions are met. {{#fi}}
{{#if numericvalue < 50 || textvalue == "Example"}} This appears when either condition is met. {{#fi}}
Common patterns
Show or hide content based on a checkbox:
{{#if consent == "Yes"}} The investor has provided consent to proceed. {{#fi}}
{{#if consent != "Yes"}} Consent has not been provided. {{#fi}}!= "Yes" rather than == "No".Display different content based on a dropdown selection:
{{#if investortype == "Individual"}} Terms for individual investors apply. {{#fi}}
{{#if investortype == "Institutional"}} Terms for institutional investors apply. {{#fi}}
Check whether a multi-select array contains a value:
{{#if categories [] "high-risk"}} Additional due diligence documentation is required. {{#fi}}Conditional paragraphs spanning multiple lines:
{{#if showdetails == "Yes"}} This is the first paragraph of additional detail.
This is the second paragraph, which may span across multiple lines or even pages in your template. {{#fi}}
Troubleshooting conditionals
If conditional content isn't appearing as expected, check the following:
- Double equals: Use
==for comparison, not=. - Double quotes: Use
"value", not'value'. - Variable names are case-sensitive: Make sure the name matches exactly.
- Numbers don't need quotes: Write
numericvalue > 123, notnumericvalue > "123". - Array operators need quotes around the value: Write
tags [] "important", nottags [] important. - Nesting is not supported: You cannot place one conditional block inside another.
Assign a form to investors or internal users
You can assign a form directly to a user without linking it to a workflow — useful for collecting one-off information.
- Open a published form in Form Builder.
- Select the Assign tab.
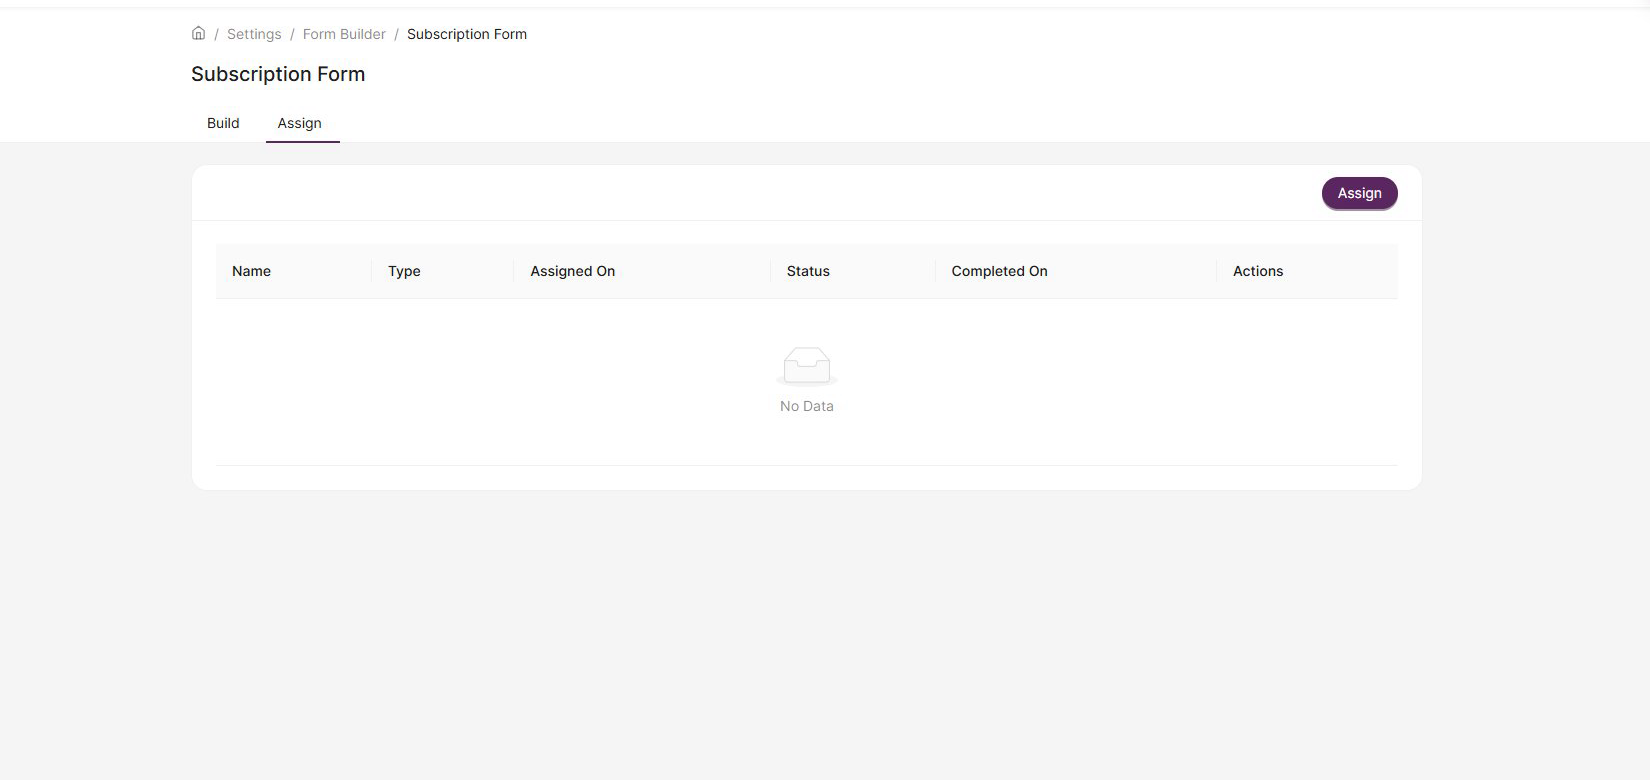
- Click the Assign button. A pop-up will appear where you choose the assignment type: Clients or Internal users.
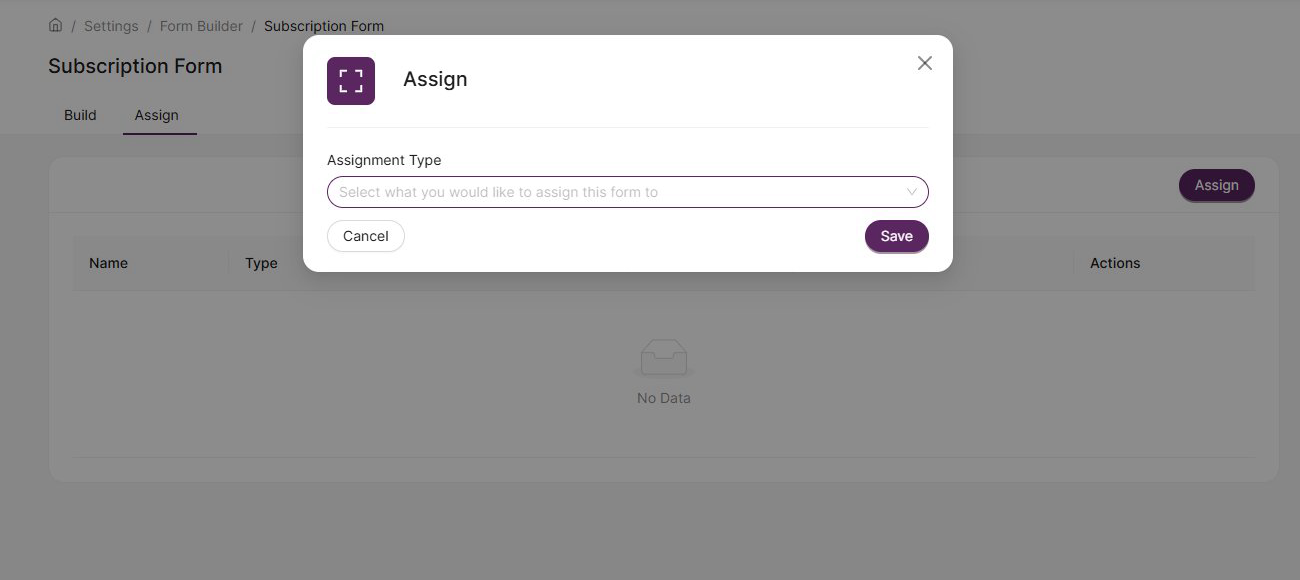
- Search for and select the user, then click Save.

The assigned user will receive a platform notification and a task to complete the form.
Generate documents from assigned forms
Once a user has completed an assigned form, you can generate documents from their responses:
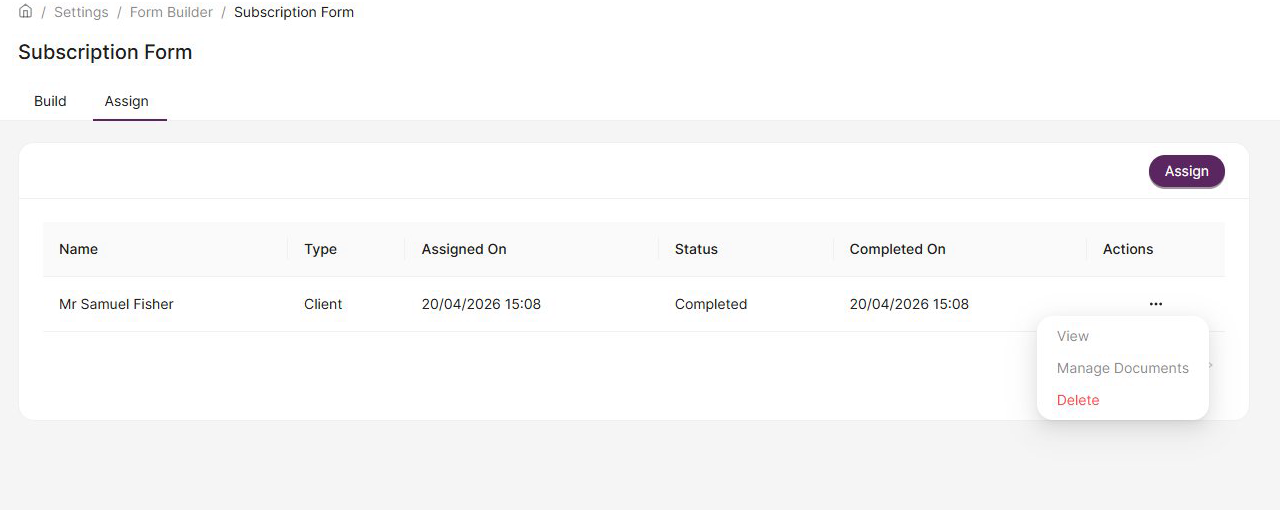
- Go to the Assign tab of the form. Find the user's completed record and click the ellipsis (⋯) in the Actions column.
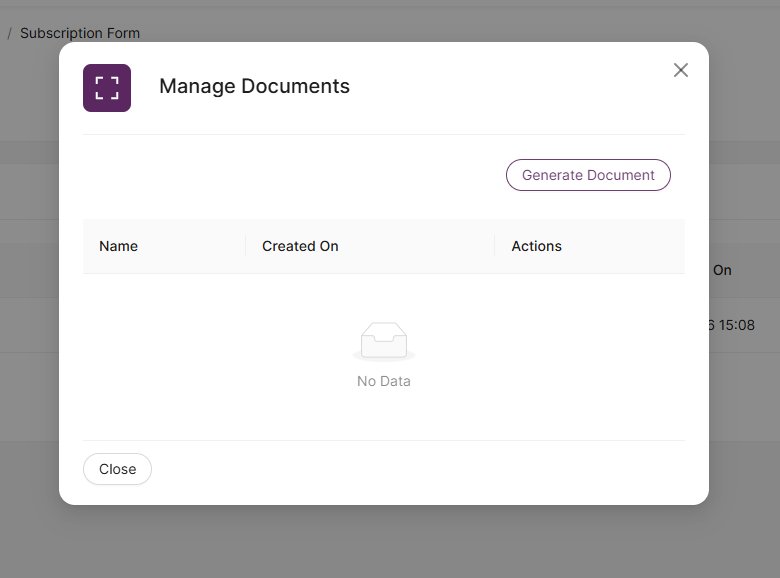
- Select Manage Documents.
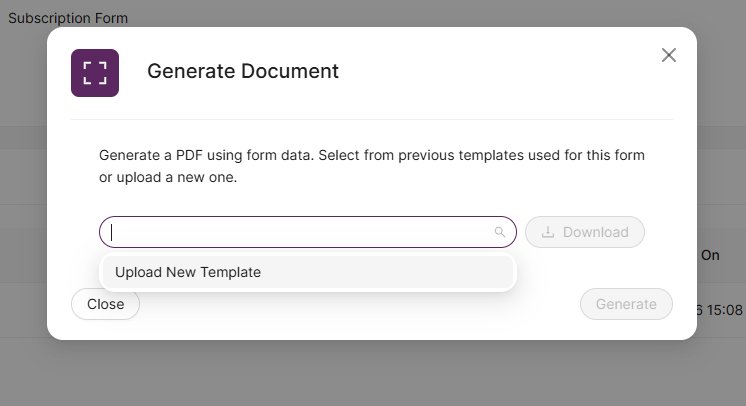
- Click Generate Document.
- Select a previously used template or click Upload New Template to upload a .docx file. Then click Generate.
Add a form to a Transaction Management workflow
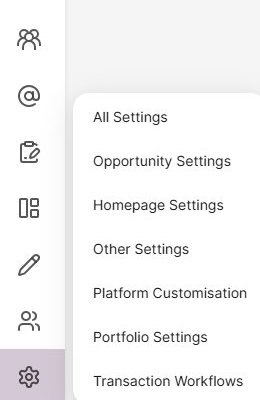
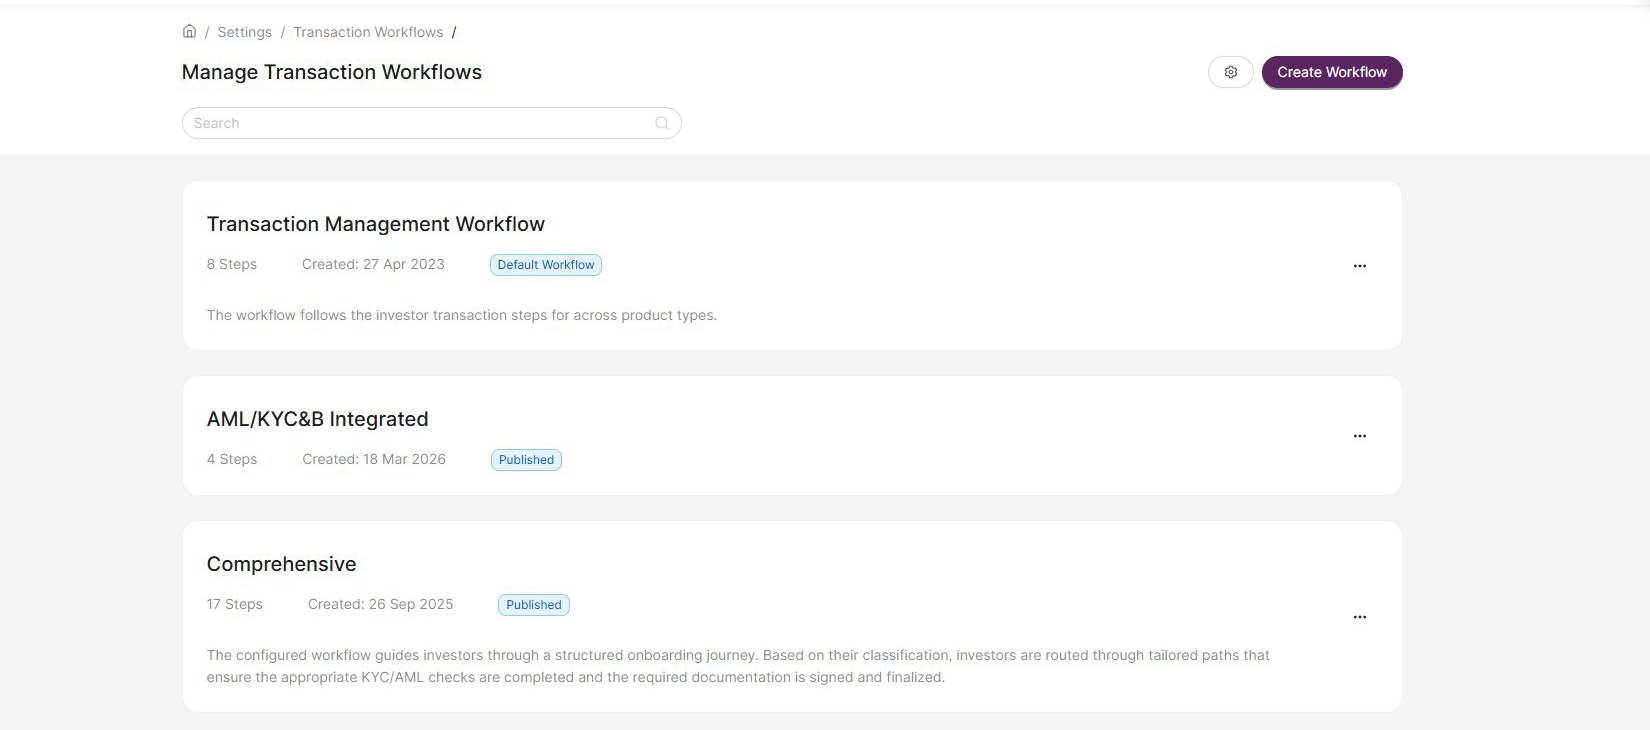
- Click the Settings cog in the left sidebar and select Transaction Workflows.
- Click on the workflow you want to edit.
- Click the ellipsis (⋯) on the step where you want to add the form, then select Edit to open the Step Details panel.
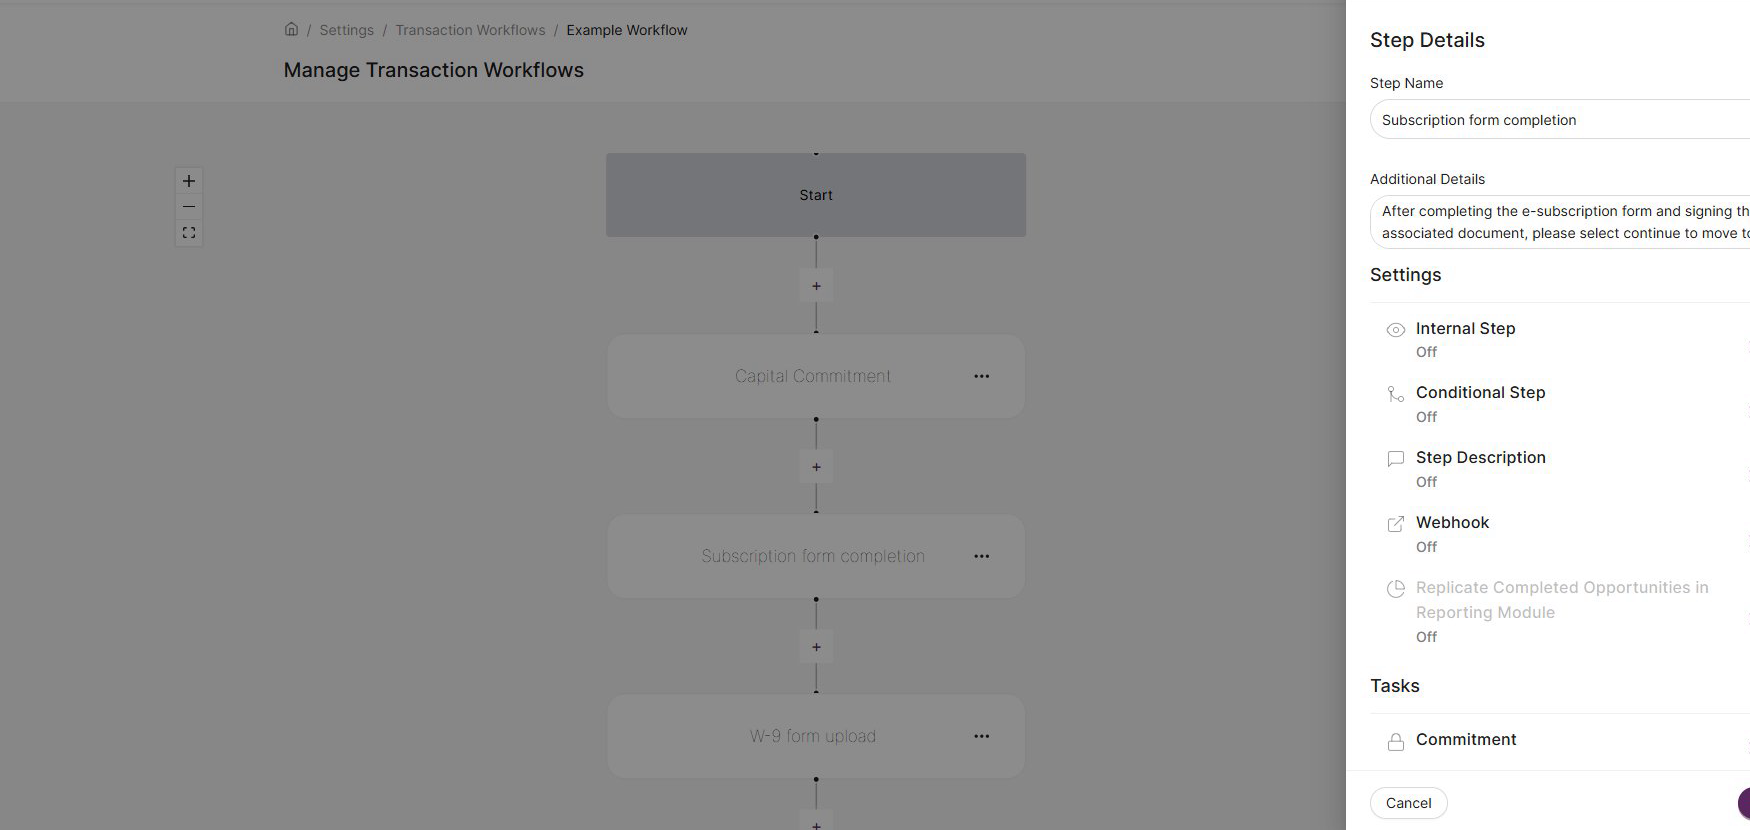
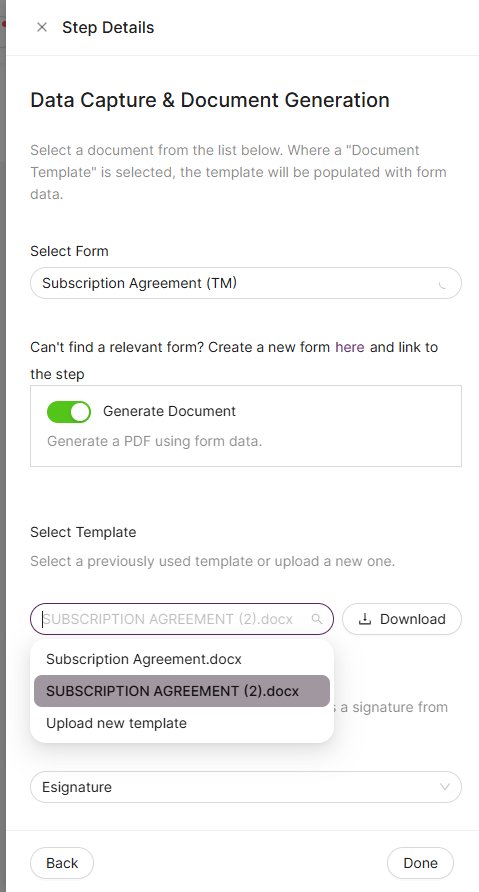
- Scroll down to the Tasks section and click Data Capture & Document Generation.
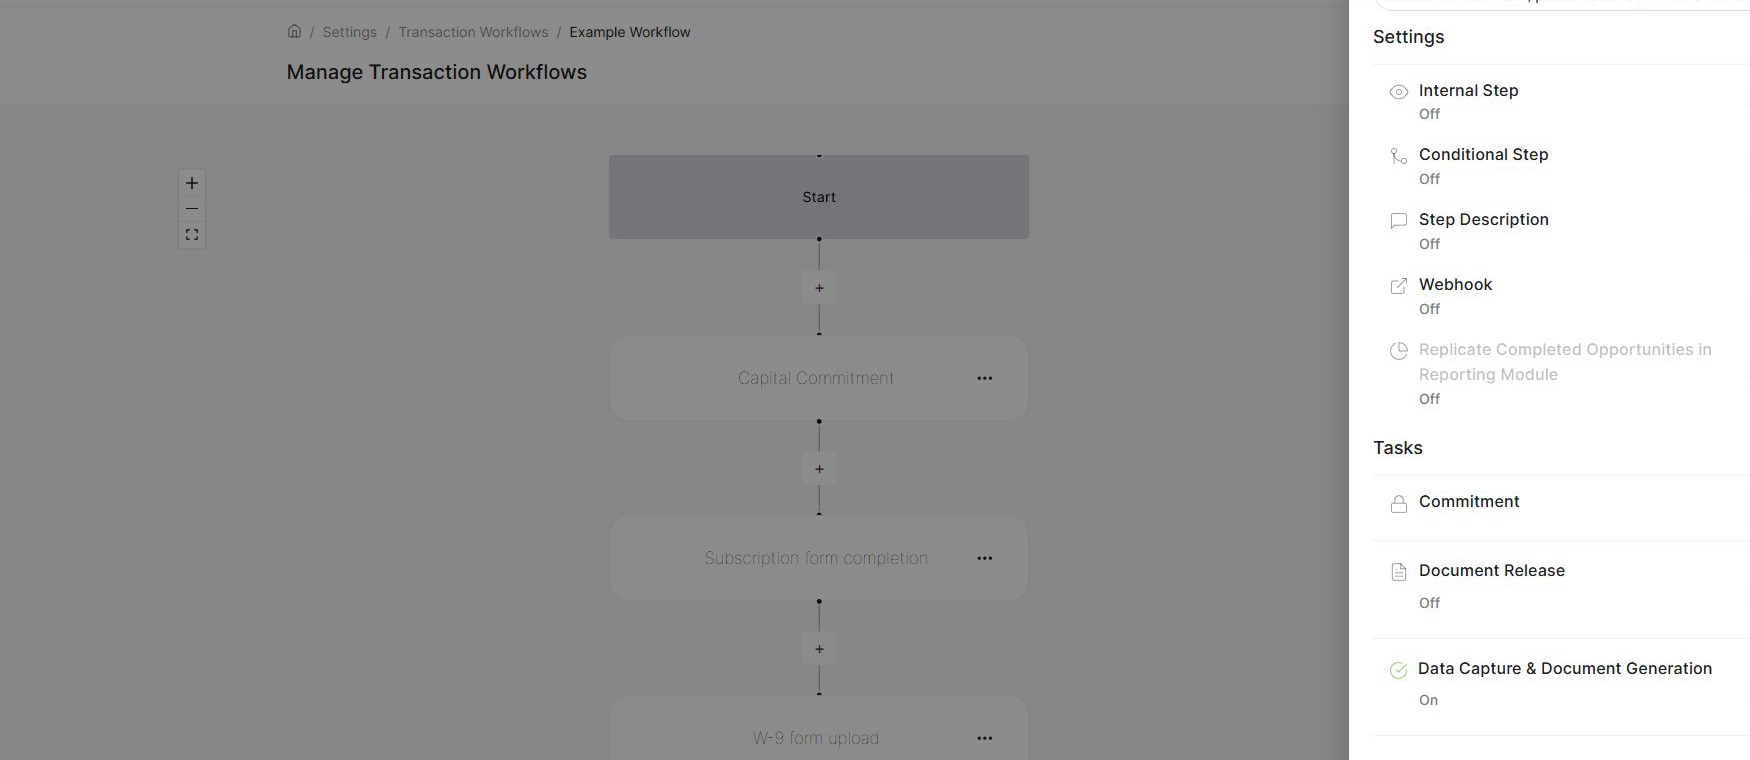
- Toggle Data Capture on. You'll see any linked forms listed below.
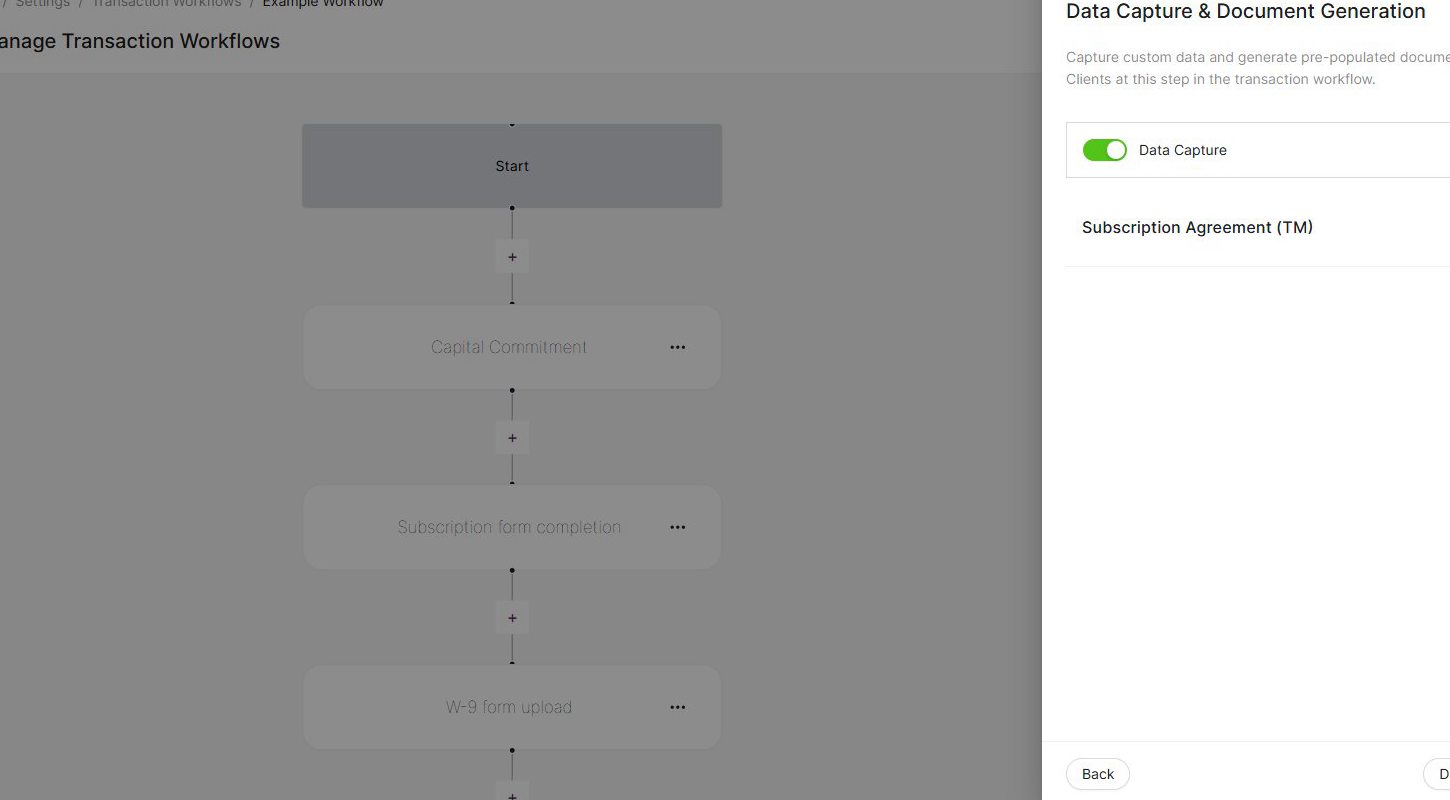
- Click into the form setup to select which form to use. Choose from the dropdown list of published forms.
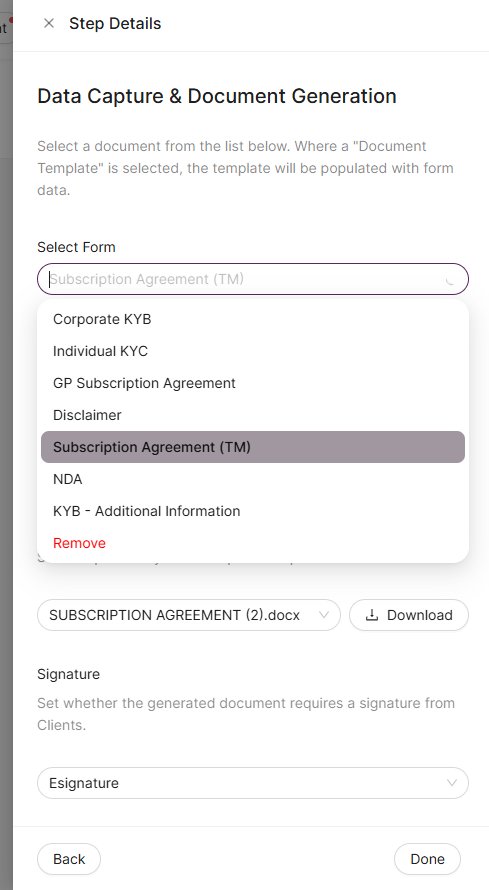
- If you want to generate a document from the completed form, toggle Generate Document on, then select a template or upload a new .docx file. You can also configure whether the generated document requires an e-signature from the investor.
Opportunity-level configuration
By default, forms and templates are managed at the workflow level and apply to all deals using that workflow. However, if your forms or templates need to vary between deals, you can enable opportunity-level control.
When setting up Data Capture & Document Generation in a workflow step, you'll see a toggle that allows you to manage forms and templates on a per-opportunity basis. When this is switched on, the deal cannot be published until the data capture and document generation settings have been configured for that specific opportunity. A pop-up will appear as a reminder to complete the configuration before publishing.
When an investor reaches a step that has a form assigned, they'll be prompted to complete the form before they can proceed. Clicking Next Step will open the Task Drawer, which shows all pending and completed tasks — including any documents requiring a signature — for their current step.
Managing form completions
When an investor is on a workflow step with an incomplete form or a pending signature, the step status shows as Pending. Clicking the step opens the Task Drawer, which is split into two sections:
In Progress
Forms that the investor has not yet completed or submitted appear here. Internal users can open a pending form and complete it on the investor's behalf — they can Save (to let the investor review and edit before submitting) or Submit directly.
Completed
Submitted forms on the investor's current step appear in this section. Clicking a completed form opens a read-only view.
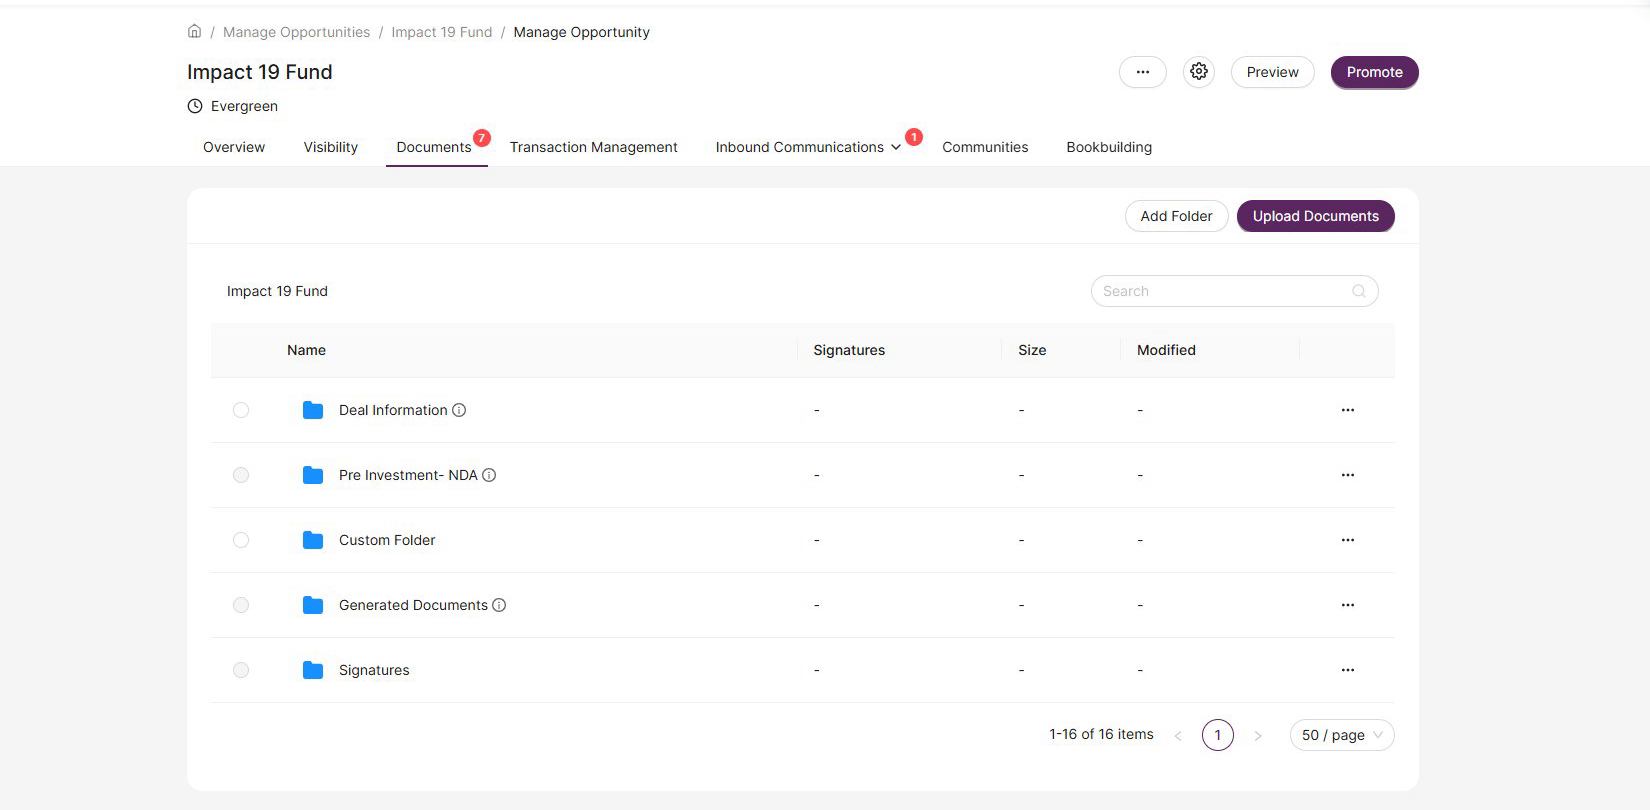
When a form is completed and Document Generation is enabled for that workflow step, the document is generated automatically. The resulting files are saved in the Generated Documents folder within the deal's Documents tab and can be accessed by the investor or deal manager at any time.
Forms from previous steps
All completed forms are included in the Audit (accessible via the Funding Summary) and the Investment Timeline.
Was this article helpful?
That’s Great!
Thank you for your feedback
Sorry! We couldn't be helpful
Thank you for your feedback
Feedback sent
We appreciate your effort and will try to fix the article